What is ‘PSD to HTML’?
‘PSD to HTML’ refers to a workflow commonly used in website development. PSD stands for Photoshop Documents, and HTML stands for HyperText Markup Language. The process involves designing a webpage in Photoshop (PSD) and then converting it into a functional HTML page. This conversion is often referred to as ‘PSD to HTML.’
Converting PSD to HTML is essential for various reasons, and it’s a skill you can learn on your own. However, many web developers offer PSD to HTML conversion services if you prefer to outsource the task. Let’s explore why this conversion is necessary and how you can do it yourself.
Why Convert PSD to HTML?
Creating a website involves managing many components, and PSD to HTML conversion is a crucial part of the process. Here are two main reasons why this conversion is necessary:
- Image Assets: In the past, creating CSS for elements like rounded corners, gradients, and drop shadows was challenging because browsers didn’t support these features. Developers had to manually create these effects in images and then convert them to code. With advancements in CSS, it’s now easier to create image assets. However, the initial conversion is still vital for achieving a specific design.
- Responsive Design: Making websites responsive, meaning they work well on smartphones and tablets, is essential. While it may seem optional, most users access websites from mobile devices. Without converting PSD to HTML, creating a site that’s fully compatible with all devices is difficult. This conversion ensures your website looks good and functions properly on any screen size.
Additionally, achieving a pixel-perfect design often requires hand-coding interactions, which is possible with HTML files. Whether you’re building a business site on Squarespace or a basic Shopify store, PSD to HTML conversion is necessary for professional results.
Preparing for PSD to HTML Conversion
Before starting the conversion process, you’ll need some essential tools and frameworks:
- Front-End Development Tools: You’ll need tools like Adobe Photoshop, Avocode, PNG hut, CSD hut, Sublime Text, and CSSp3 for front-end development.
- Development Frameworks: Using frameworks can speed up and simplify development. Back-end frameworks include PHP and Ruby, while front-end work focuses on HTML, CSS, and JavaScript frameworks. It’s important not to use the same framework for every project.
- Layout Types: Ensure your design is responsive and adapts to different devices. Responsive design is crucial for websites and apps that work across various devices. Some apps might need adjustments to function well on both PCs and mobile devices.
Steps to Convert PSD to HTML
Now, let’s go through the conversion process step by step:
Step 1: Break the PSD into Parts
Converting the entire PSD file at once is challenging and can slow down page loading times. Instead, slice the PSD into smaller pieces to make the conversion more manageable and improve loading speed.
Use Photoshop’s slicing tools to divide the PSD into smaller images. Options like Normal, Fixed aspect ratio, Fixed size, and Slices from guides can help. Save each slice separately using the ‘Save for Web’ menu.
Step 2: Generate Directories
After slicing the images, organize your files by creating directories. This helps manage your data efficiently. You need to create three main directories:
- Main Folder: Name this folder after your website.
- Images Folder: Inside the main folder, create an ‘images’ folder to store all the images you’ll use.
- Styles Folder: Also within the main folder, create a ‘styles’ folder for your CSS files.
These directories serve specific purposes and are essential for a well-organized project. Following these steps will help you convert PSD to HTML effectively and create a website that looks great and functions well across all devices.
Step 3: Create HTML

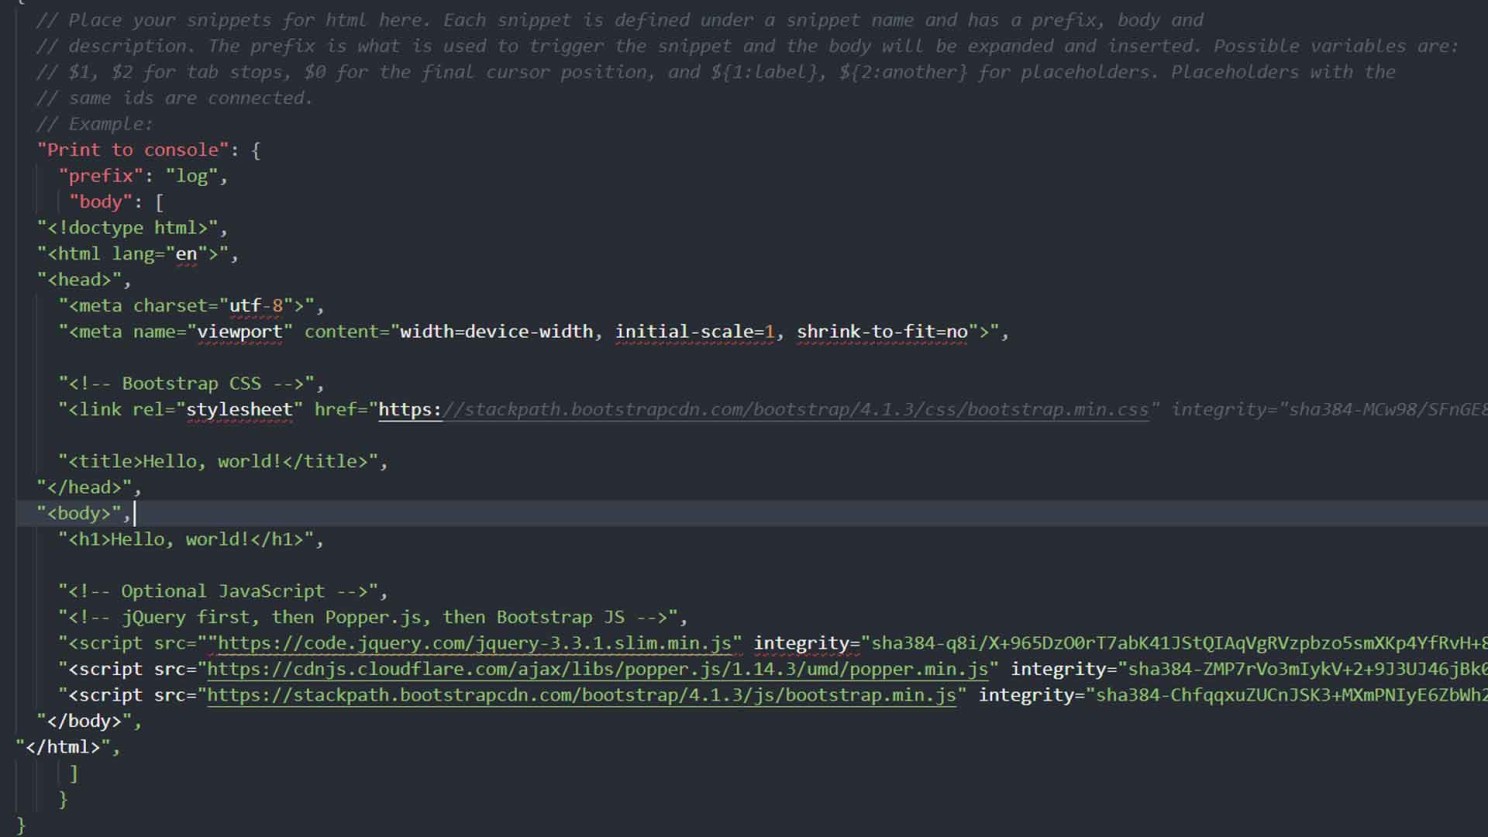
To create the HTML page, you can use various HTML editors like KompoZer, Amaya, or Adobe Dreamweaver. Adobe Dreamweaver is the most recommended tool for this task. Here are the steps to create your HTML page:
- Build a New File: Open your chosen HTML editor and create a new file. Save this file in the main folder you created earlier, which is named after your website.
- Section the HTML5 Code: Follow these steps to organize your code using HTML5 sections:
- Header: Begin with the header section at the top of the page. This area usually contains the site’s navigation and logo.
- Hero Section: Next, create the hero section, the largest area on the page. This section is designed to showcase a prominent image or message.
- Slideshow: The third section is for a slideshow. This area will display a series of images that automatically cycle across the page.
- Main Content: After the slideshow, add the main content section. This section contains text, images, buttons, and other important data.
- Footer: Finally, create the footer section at the bottom of the page. This area typically includes links to your blog, contact information, and social media profiles.
By following these steps, you can structure your HTML page effectively, making it easy to maintain and ensuring it displays correctly across various devices.
Step 4: Generate Style Files

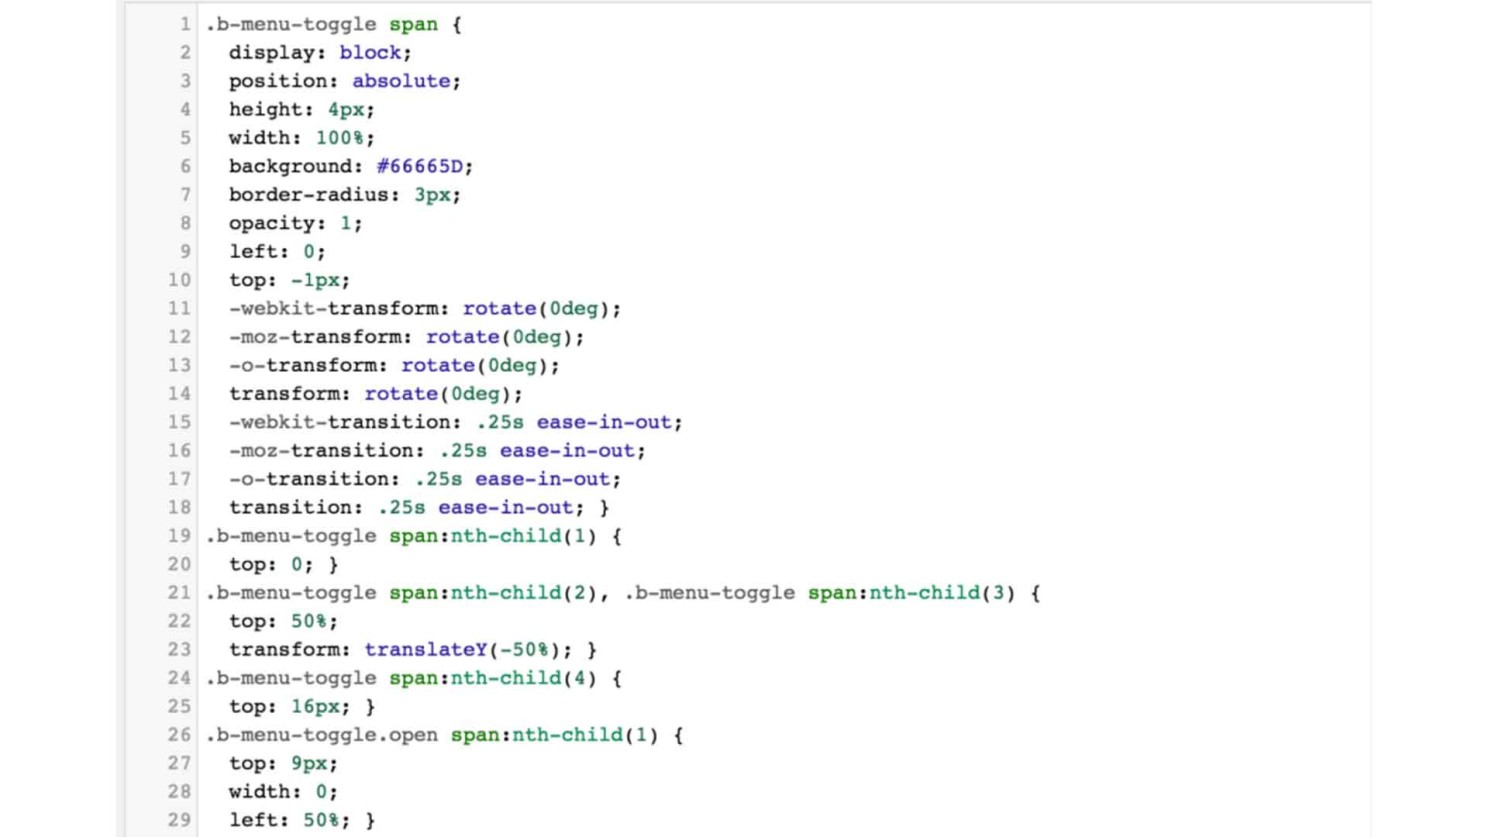
To create the HTML code, you need to develop the style files for your page. This involves using CSS, which is essential for styling your website. You can create these style files using a framework, with Bootstrap being a popular choice. You can also adjust the styles later if needed.
Alternatively, you can generate the style files using an HTML editor. Be sure to save these files as style.css in the CSS folder for easy access. In the stylesheet, you’ll define stylistic features such as margins, font size, type, image position, background color, and fieldset. You can customize these features to suit your design preferences.
Once your stylesheet is ready, connect it to your HTML page to apply the styles.
Step 5: Arrange the Web Design Set
You’re almost done with the process. Now, you need to arrange the web design set by bringing together all the elements. Use a code editor like Adobe Dreamweaver, which is recommended for both creating HTML code and setting up the web design.
Establish a strong foundation with a basic layout of HTML and CSS. Once you have the foundation, ensure that the images and background colors align correctly with the main elements of your design. Make sure all the main elements are properly positioned to create a cohesive and visually appealing website.
Step 6: Java Script Interaction

Step 6: Incorporate JavaScript for Interactivity
After completing the HTML and CSS setup, it’s time to integrate JavaScript to enable interactivity on your website. JavaScript will be used to manage the Document Object Model (DOM) and create dynamic layouts. To assist with this, you can use libraries and frameworks such as jQuery, which simplifies DOM manipulation and front-end coding.
Additionally, frameworks like React.js and Vue.js are crucial as they facilitate the easy connection of HTML elements with JavaScript functions and data. AngularJS is another useful framework, allowing you to implement MVC (Model-View-Controller) styles and manage data without directly altering the HTML layout.
Step 7: Apply Final Touches to Ensure Responsiveness
Finally, to make your design responsive, utilize frameworks like Twitter Bootstrap, Foundation, or Fluid Baseline Grid. These frameworks provide the necessary tools to ensure your design adapts well to different screen sizes. To further enhance the responsiveness, incorporate CSS media queries, which allow you to apply specific styles based on the device’s characteristics.
By following these straightforward steps, you can effectively convert PSD to HTML5. Ensure that you don’t skip any steps and follow them in sequence. If you encounter difficulties, consider hiring a professional service provider. You might wonder about the cost involved in this conversion process; the next section will address this aspect.
How Much Will It Cost to Convert PSD to HTML?
The cost of converting PSD to responsive HTML is not fixed and can vary based on several factors, including the service provider, location, and project specifics. Key factors influencing the cost include:
- Number of Pages: More pages typically mean higher costs.
- Nature of the Website: Complex or unique designs may incur additional charges.
- Turnaround Time: Urgent projects might cost more.
- Level of Complexity: More intricate designs require more effort and resources.
Discounts or promotional offers may reduce the cost, so it’s worth checking for any available deals.
FAQs
Q: Can I convert Bootstrap PSD to HTML?
A: Yes, you can convert Bootstrap PSD to HTML. Start by analyzing the PSD file and creating directories. Then, convert the PSD to CSS code and integrate HTML with Bootstrap components to ensure responsiveness.
Q: When shouldn’t I convert PSD to HTML?
A: Avoid conversion when using mockup services or plugins, as the resulting code may not be clean or efficient. Additionally, using PSD to HTML generators can produce poor-quality code, potentially causing issues with your website. Consider hiring a professional if you’re uncertain about the conversion.
Q: Why is PSD to HTML conversion harder recently?
A: PSD to HTML conversion has become more challenging due to the increased responsiveness of modern PSD files. These files are now designed to be compatible across devices and browsers, making tasks like slicing and layout adjustments more complex than in the past.
