How to Obtain an SSL Certificate for Your WordPress Site
- Securing your WordPress site with an SSL certificate is easier than you might think. Here are a few simple ways to get one, each offering different benefits:
Option 1: Get an SSL Certificate from Your Hosting Provider
One of the easiest and often cheapest ways to get an SSL certificate is through your hosting provider. Many hosts include free SSL certificates in their plans, and some even offer premium options, like EV (Extended Validation) certificates, for sites needing more security.
Check with your hosting provider to see if they offer SSL certificates and what types they have. This option is usually straightforward since everything is integrated with your hosting service.
Option 2: Use a Free SSL Certificate from Let’s Encrypt
If you’re looking to save money, Let’s Encrypt provides free SSL certificates. These are perfect for small to medium-sized websites, blogs, and personal projects.
The biggest advantage here is that it’s completely free—no need to pay for a premium certificate if basic security is all you need. Let’s Encrypt certificates are trusted by most browsers and offer solid protection for many sites.
Option 3: Buy an SSL Certificate from a Certificate Authority (CA)
If your site handles sensitive information, like credit card details or personal data, it’s a good idea to invest in a premium SSL certificate from a well-known Certificate Authority (CA) like Sectigo or DigiCert. These certificates offer stronger validation and security, which is important for building trust with your visitors.
Premium SSL certificates often come with added benefits like extended validation, warranties, and customer support, making them a smart choice for businesses focused on security.
Picking the Right SSL Certificate
When choosing an SSL certificate, think about the security needs of your site. Here’s a quick guide:
- Basic SSL Certificates: Great for personal blogs and small sites.
- Wildcard SSL Certificates: Useful if you have multiple subdomains.
- EV SSL Certificates: Best for e-commerce sites and businesses handling sensitive information.
Each type of certificate has its own use, so choose one that fits your site’s needs.
How to Install an SSL Certificate on Your WordPress Site
After you get your SSL certificate, the next step is to install it on your WordPress site. There are several ways to do this, depending on your comfort level with technology:
- Through Your Web Host
- Using a Plugin
- Manual Installation
Pick the method that you feel most comfortable with.
Installing an SSL Certificate Using Your Web Host
Installing an SSL certificate through your hosting provider is usually quick and easy. Most hosts provide tools to help with this process. Here’s a simple guide, using cPanel (a common hosting control panel) as an example:
- Log in to Your Hosting Control Panel: Start by logging into your hosting account and opening the control panel. This is often cPanel, but some hosts use custom control panels.
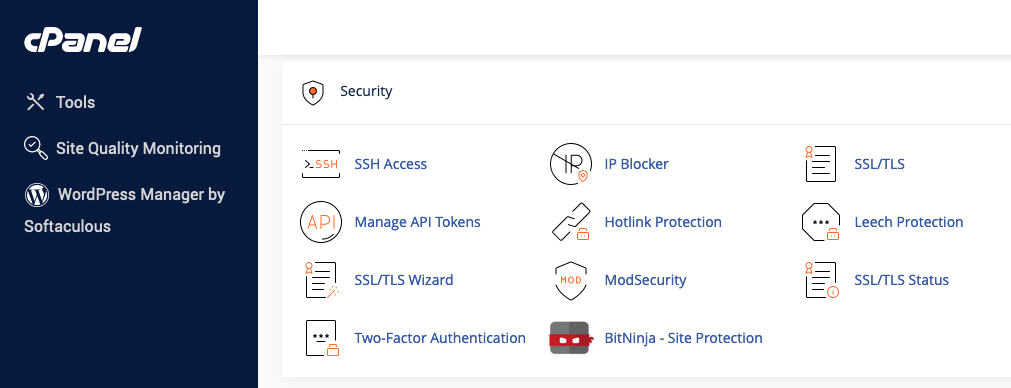
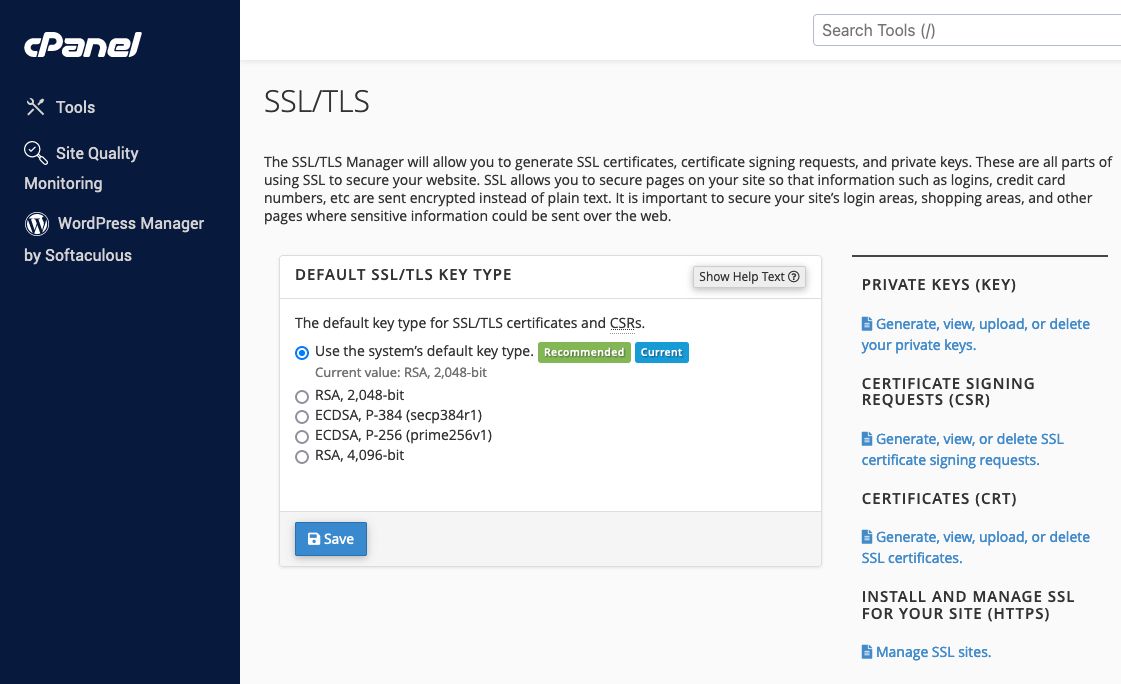
- Find the SSL/TLS Manager: In the control panel, look for the Security section or search for the SSL/TLS manager. This tool helps you manage SSL certificates, including generating keys and certificates. In cPanel, you’ll usually find this under the Security section.

-
 Fill in your domain and company details.
-

Your WordPress site is now secured with an SSL certificate. If you run into any issues, don’t hesitate to contact your hosting provider’s support team for help.
Adding an SSL Certificate to WordPress Using a Plugin
For a quick and easy way to add SSL to your WordPress site, using a plugin is an excellent choice. Plugins like Really Simple SSL take care of most of the technical details for you. Follow these steps to secure your site with an SSL plugin:
- Ensure Your Hosting Environment is SSL Ready: Before you start, make sure your hosting provider has enabled SSL for your site and that an SSL certificate is installed on your server. If you’re unsure, check with your hosting provider to confirm that your site is SSL-ready.
- Install the Really Simple SSL Plugin:
- Go to your WordPress dashboard.
- Navigate to the Plugins section and click Add New Plugin.
- In the search bar, type “Really Simple SSL” and find the plugin in the repository.
- Click Install Now and then Activate once the installation is complete.

